On a new installation of Windows Server 2019, updates have to manually be installed by default. This includes Definition updates to Windows Defender. We are going to automate this process to keep our server always up-to-date.
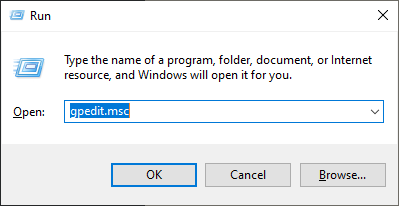
Let’s start by opening the group policy editor. You can do this by entering gpedit.msc via the Run window
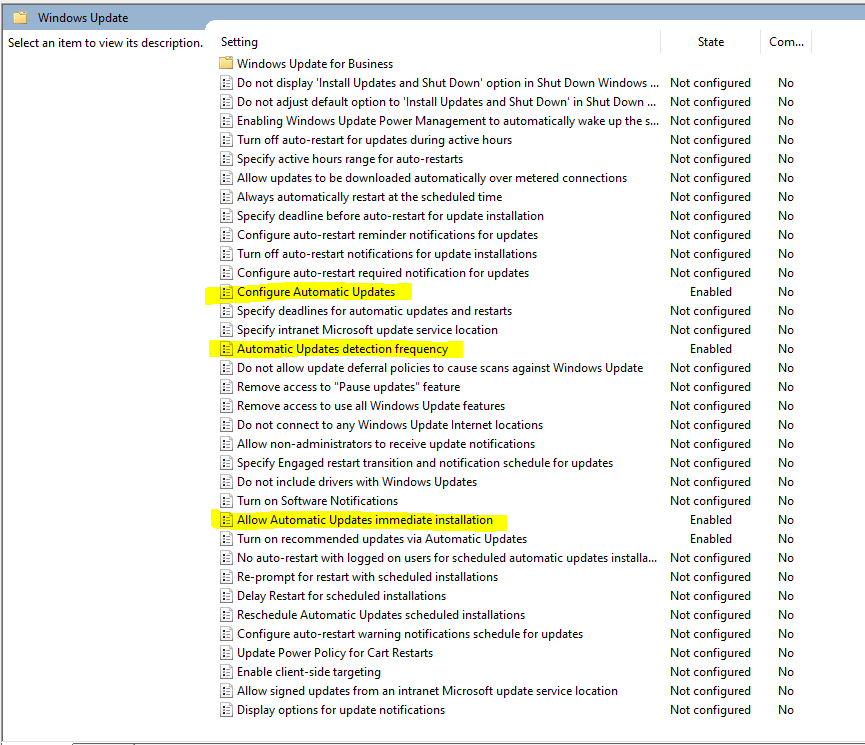
When the Local Group Policy Editor opens, navigate to the following: Local Computer Policy => Computer Configuration => Administrative Templates => Windows Components => Windows Update

Under Windows Update – we are going to enable and configure the following policies.
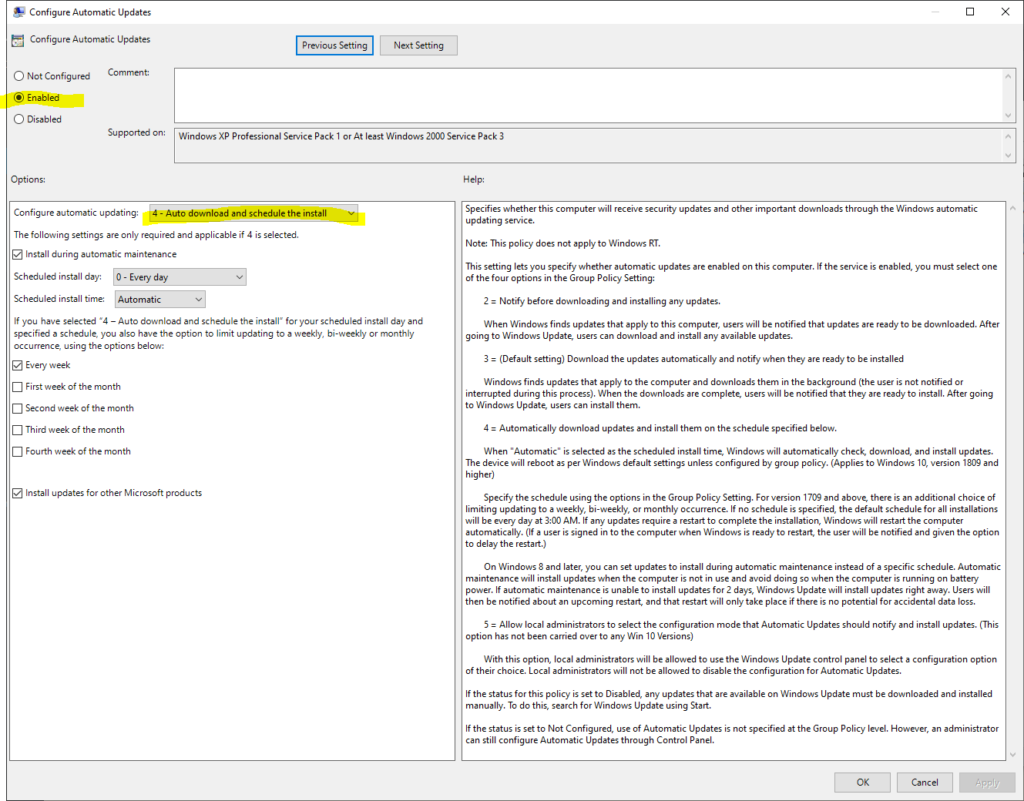
Under the Configure Automatic Updates policy there are several options. Select option 4 – Auto download and schedule the install and check the Install during automatic maintenance checkbox. You can also specify days and times of the installs.
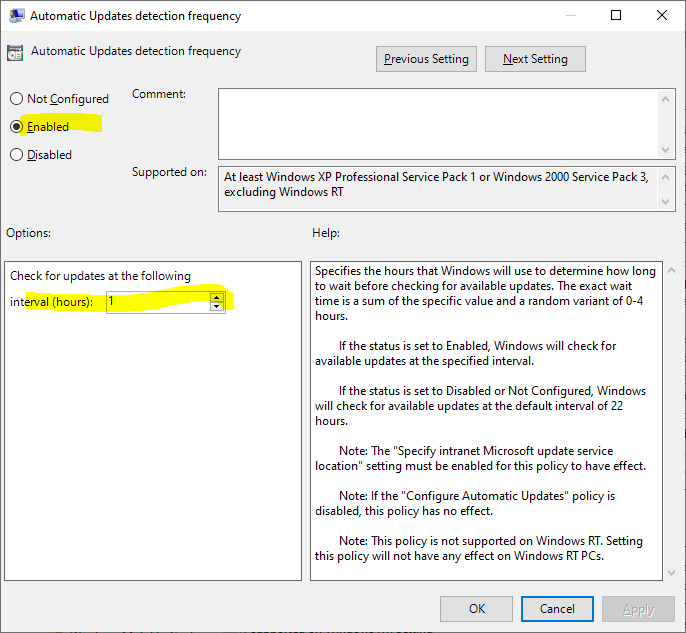
The next policy we are going to enable and modify is the Automatic Updates Detection Policy. This policy dictates how often the OS will check for updates.
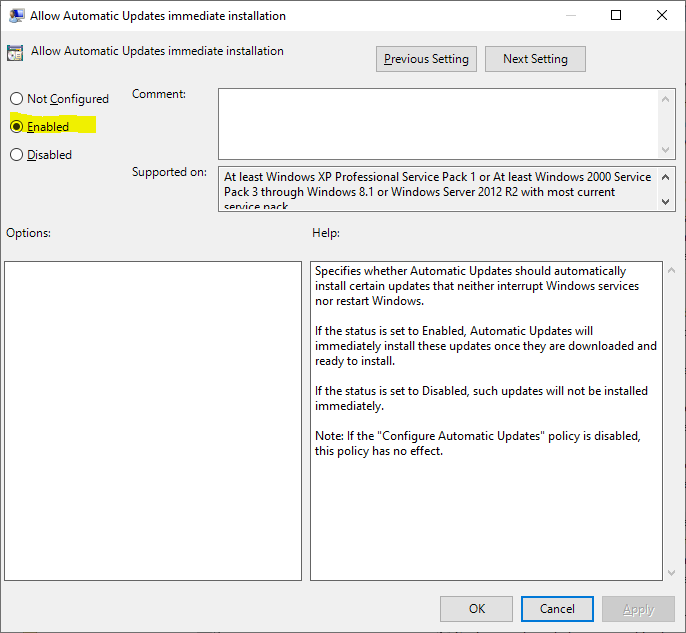
The final policy we are going to enable is the Allow Automatic Updates immediate installation policy. This will allow updates that won’t interrupt Windows services or require a restart to be installed (e.g. Definition updates).
That’s it! Now your server will continuously check for updates at the frequency you specified and install the updates during the maintenance windows specified.